Let’s install Social Proofy on your site.
Part 1 – Add your site on Social Proofy
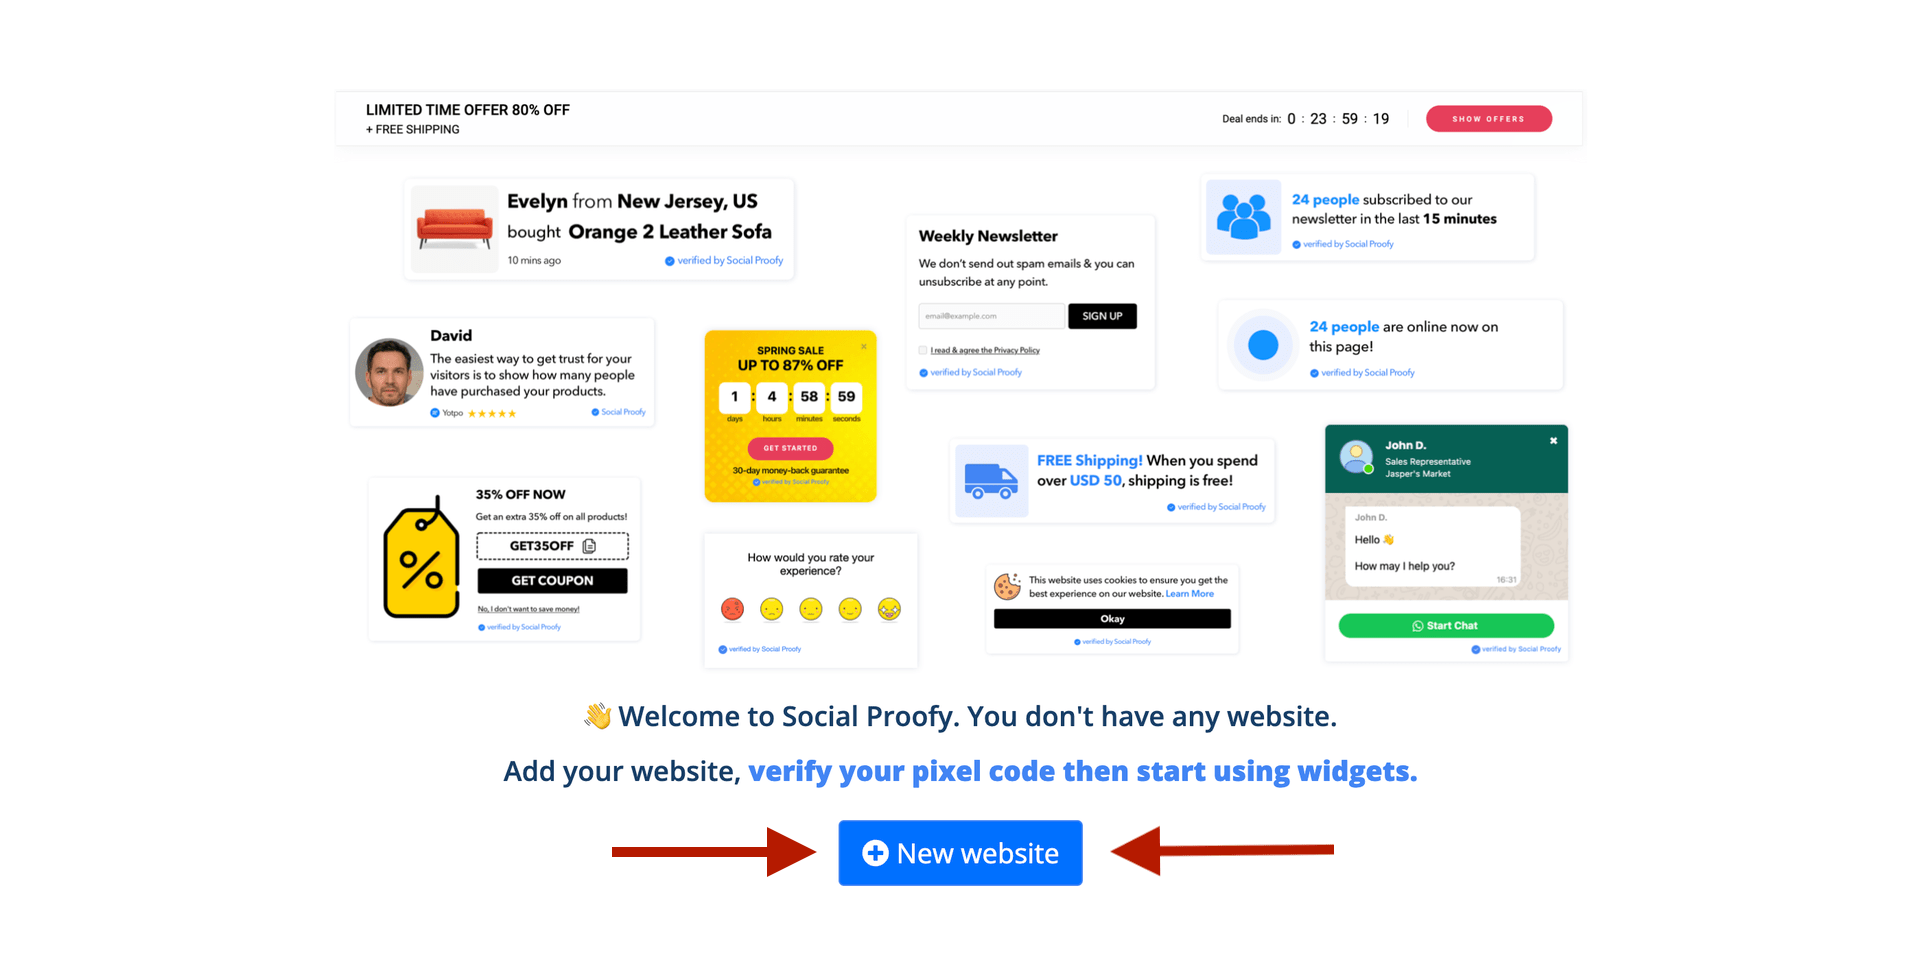
Step 1- Log in to your Social Proofy account, click on the button that says New Website and register your site.

Step 2 – After adding your site, go to the top left corner of your Dashboard and click on the Red Dot next to “Pixel not active”.
![]()
Step 3 – Look for the platform you use. If you can’t find it then go with the “Add to your HTML” option.
![]()
Step 4 – Copy the code snippet. You’ll need this later.
![]()
Part 2: Paste the Pixel into site’s code
If you wish to paste the code directly in your source code, follow these steps.
(If you don’t want to touch your source code, skip to Website Builder Platform Index.)
Step 1 – Download your site’s source code.
Step 2 – Paste the HTML code into the head section of your website.
Head Section: This is the section of your website’s code that starts with the opening “<head>” tag and ends with the closing “</head>” tag.
Paste as close to the closing “</head>” tag as possible.
See below:
![]()
Step 3 – Upload your source code once again.
Website Builder Platform Index
Most website builder platforms offer an easy way to add the Social Proofy Pixel without needing access the source code.
Search for your platform in our installation guides list.
If your platform gives you the option to choose which section of your website to place your pixel: the head, the body or the footer, choose the head section.
You can also use Google Tag Manager to install the Pixel without touching your source code. Read how to install Social Proofy with Google Tag Manager.
Part 3: Check if the Pixel is installed
Step 1 – Go back to your Social Proofy Dashboard and click on the Red Dot next to “Pixel not active”, once again.
![]()
Step 2 – Once there, click on the Verify Pixel button.
![]()
If it shows Green, you’re all set. You have successfully installed the Social Proofy Pixel on your site.
![]()
The code will be added to all pages on your site and Social Proofy will start working.
If it does not show green? Click the chat bubble in the app so we can assist you 1-on-1 setting up your Pixel.
Now that you’ve added Social Proofy to your site, the fun part starts!
Extra: Part 3 – Let’s add your first widget!
We’ll start with the Recent Sales Pop, the crowd favorite!
