Install Social Proofy on your site with Google Tag Manager
Part 1 – Add your site on Social Proofy
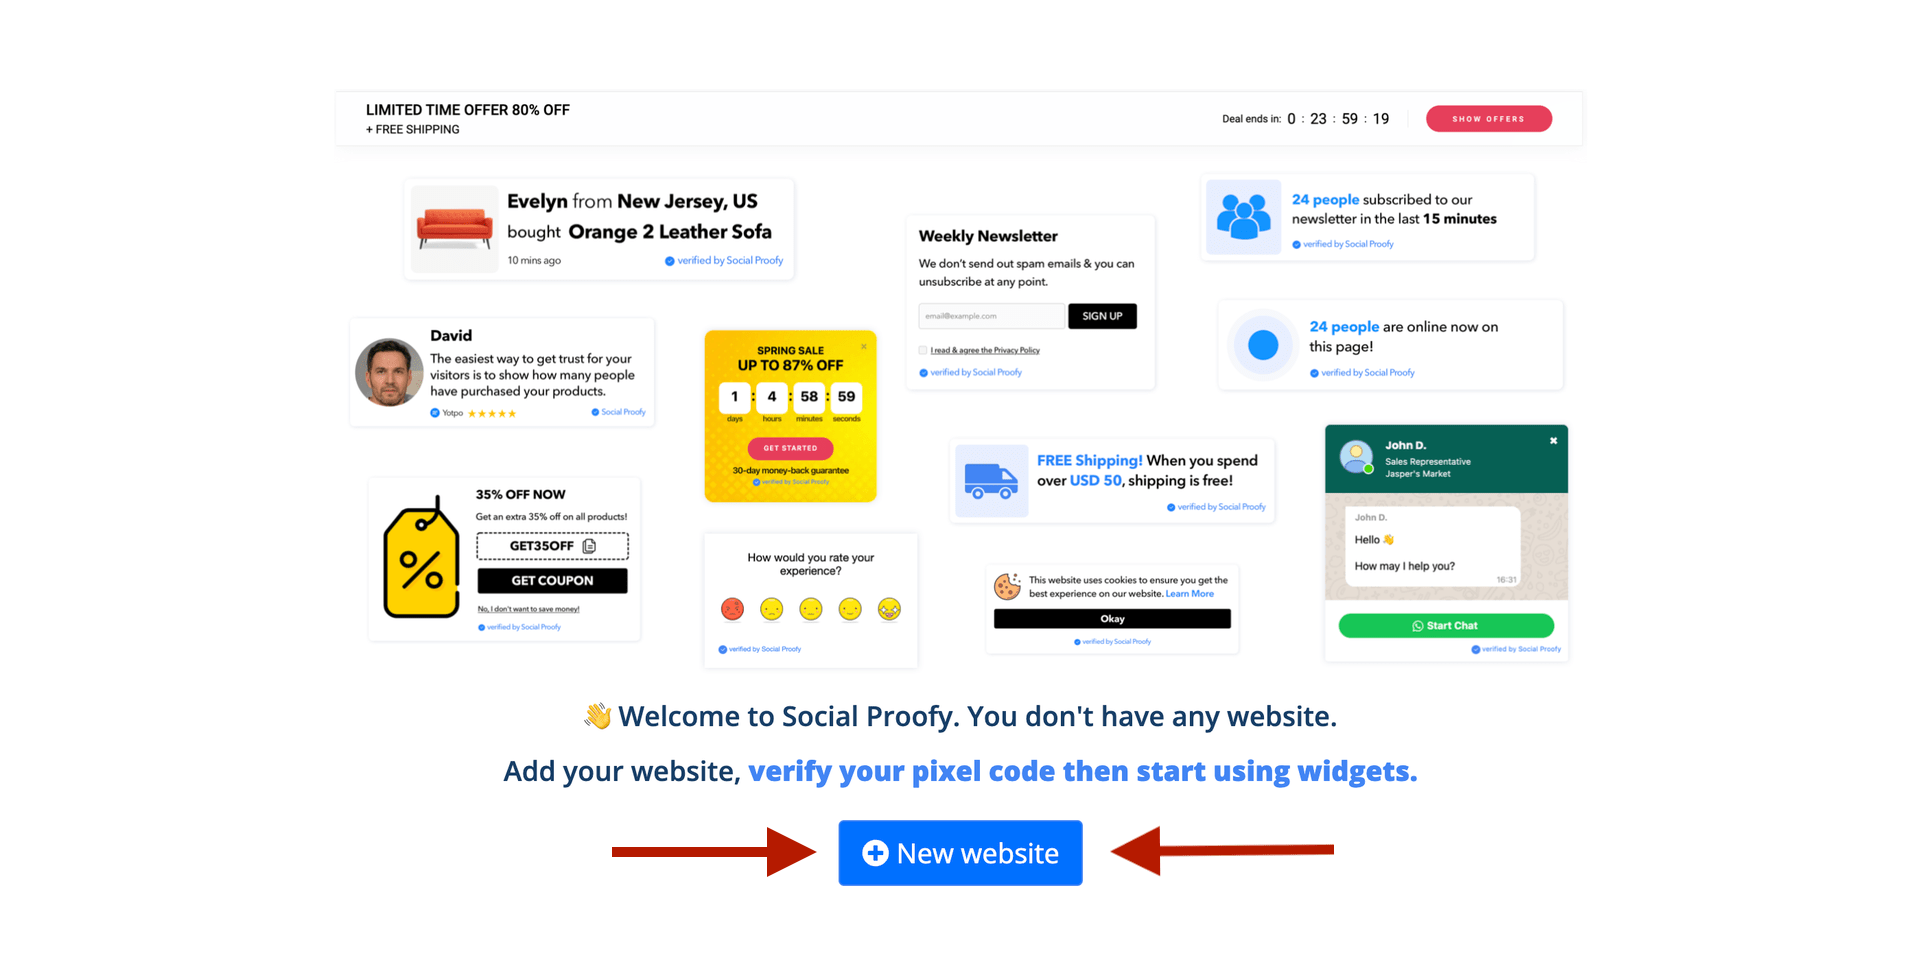
Step 1- Log in to your Social Proofy account, click on the button that says New Website and register your site.
Step 2 – After adding your site, go to the top left corner of your Dashboard and click on the Red Dot next to “Pixel not active”.
![]()
Step 3 – Select the “Add to your HTML” option.
![]()
Step 4 – Copy the code snippet. You’ll need this later.
![]()
Part 2 – Create a new Custom HTML Tag on your GTM account
Step 1 – Go to https://tagmanager.google.com and sign in with your Google account.
Step 2 – If you have not created a Google Tag Manager “account” then click on Create Account.

Step 3 – Setup your account settings, make sure to select Web for the Target Platform.

Step 3 – After creating the account, click on “New Tag”. 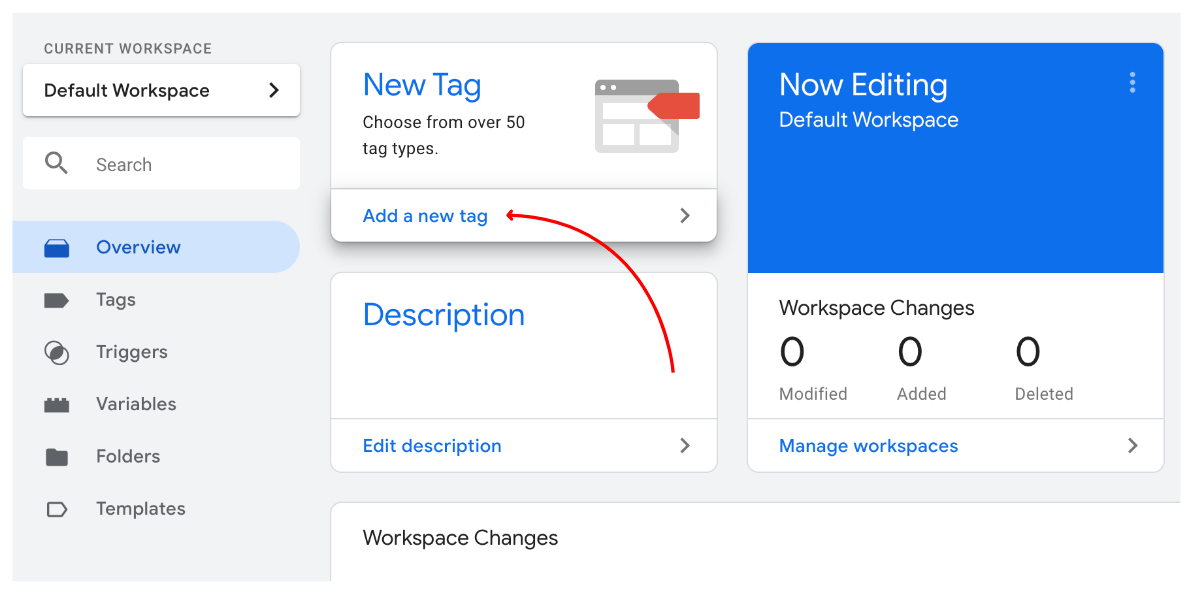
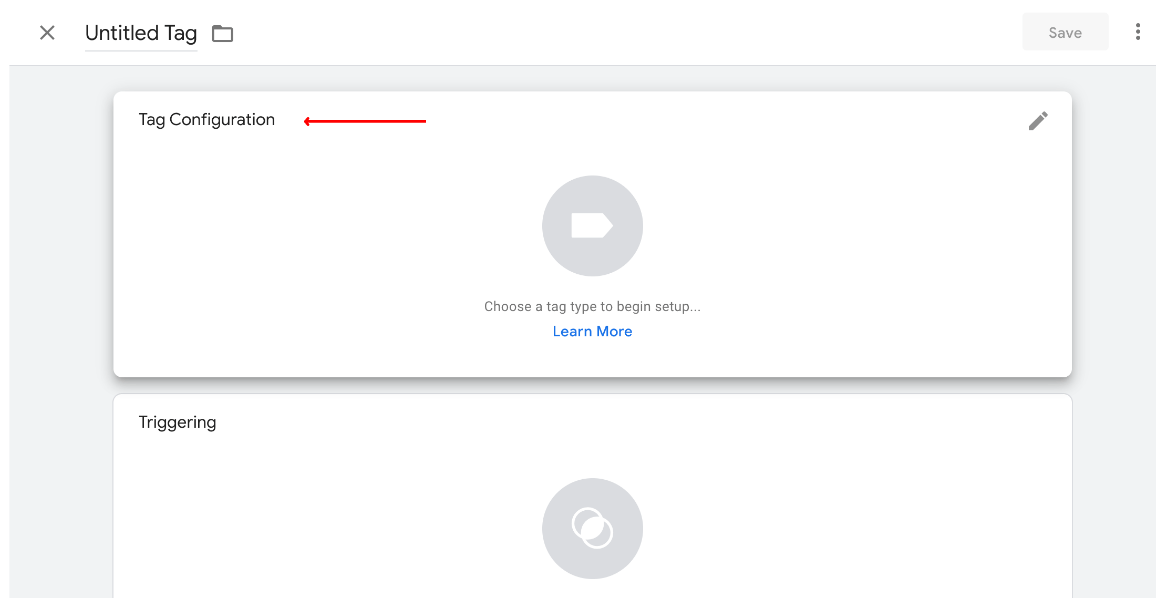
Step 4 – Then on “Tag Configuration” to choose a tag type.
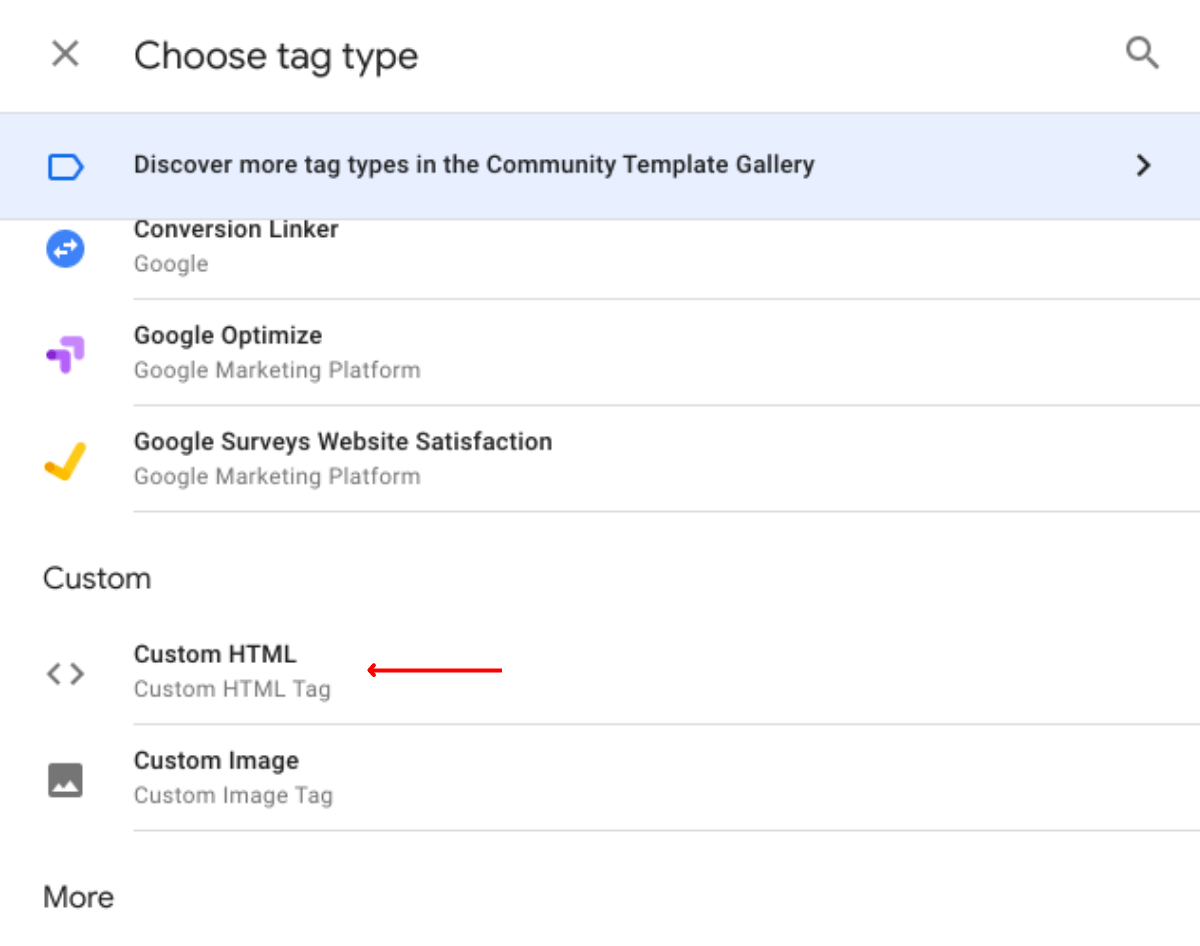
Step 5 – Scroll down to “Custom” and select “Custom HTML Tag”.
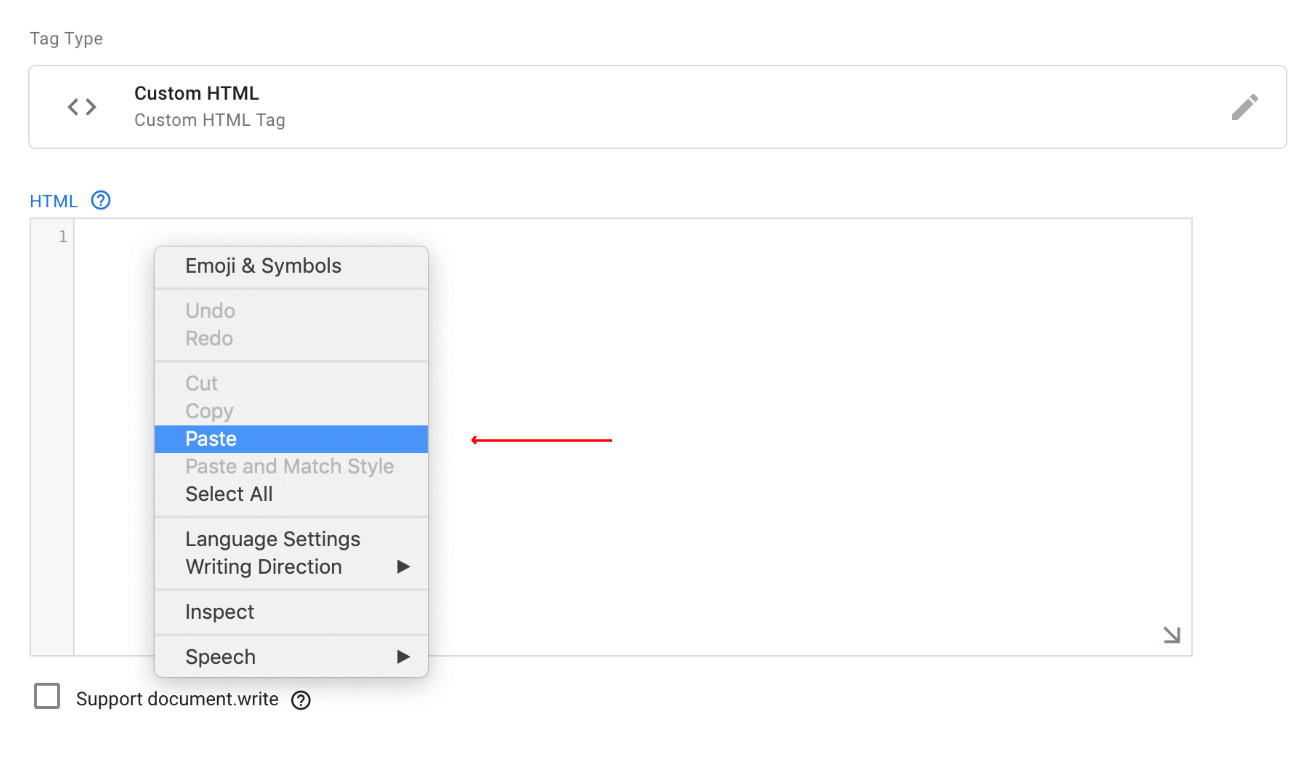
Step 6 – Paste the code you copied from Part 1 Step 4 inside HTML box.
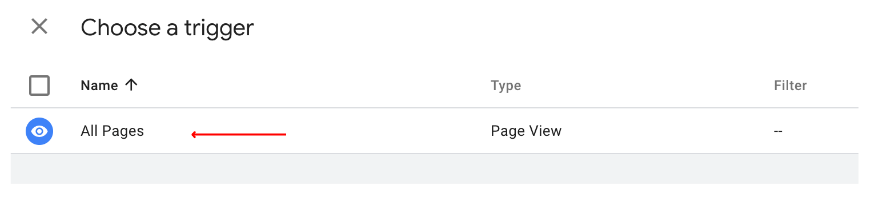
Step 7 – Click on Triggering.

Step 8 – Select All Pages.
Step 9 – Click Save on the top right corner.

Step 10 – After saving the Tag, click on the Submit button in the top right corner.

Step 11 – After hitting Submit, go to the top right corner and click on Publish.

Step 12 – You’ll see something like this.


Step 13 – Click on your GTM ID on the top right corner.

Step 14 – Copy your Head and Body scripts.

Step 15 – Paste the Head and Body tag in the corresponding area within your site hosting page.
Example: If you are using WordPress, go to your site hosting platform (Example: onlydomains.com, namecheap.com, greengeeks.com).
Step 16 – Go to the menu on the left side of your page and click on Plugins > Add New Plugins.

Step 17 – After landing on the Add New Plugin page, type “insert headers” on the search bar. Once the WPCode Insert Headers and Footers plugin shows, click on “Install Now“.

Step 18 – Once installed, click on Activate.

Step 19 – Refresh your tab and then go to the menu bar on the left side once again. Search for the Code Snippets plugin and click on Header & Footer .

Step 20 – Once in Header and Footer, paste the HTML snippet from Step 4 Part 1 on the Header box and hit Save Changes.

Step 21 – Go back to your Social Proofy Dashboard and click on the Red Dot next to “Pixel not active”, once again.
![]()
Step 22 – Once there, click on the Verify Pixel button.
![]()
If it shows Green, you’re all set. You have successfully installed the Social Proofy Pixel on your site.
![]()
The code will be added to all pages on your site and Social Proofy will start working.
If it does not show green? Click the chat bubble in the app so we can assist you 1-on-1 setting up your Pixel.
Now that you’ve added Social Proofy to your site, the fun part starts!