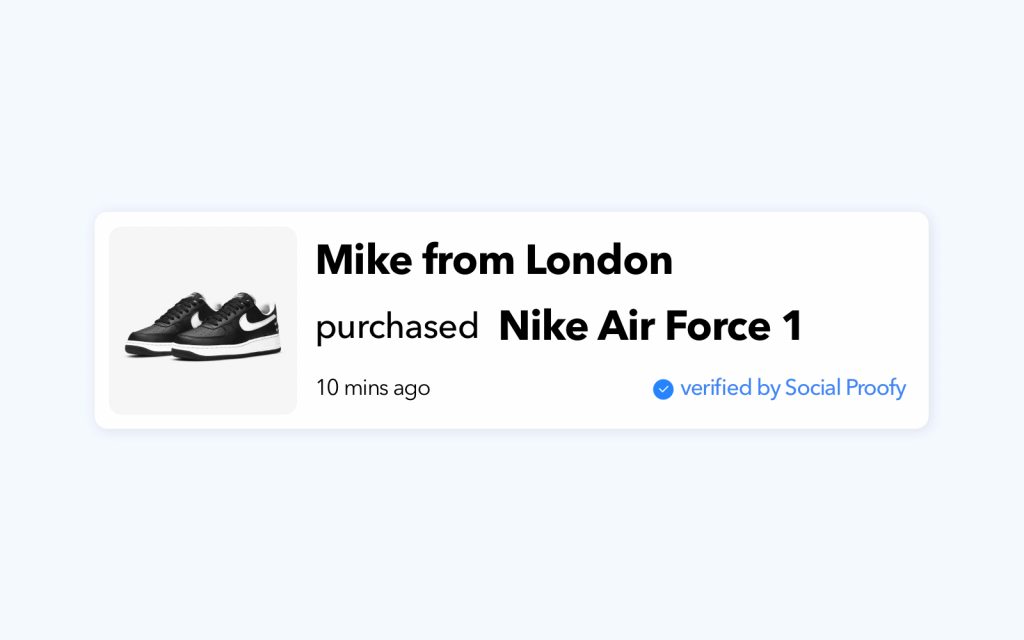
Use the Recent Sales Pop Widget to create FOMO and build credibility by showing recent conversions on your site.
By showing your visitors that your digital or physical products have been purchased by others, you can turn your purchases into powerful Social Proof.

How Does The Recent Sales Pop Work?
The Recent Sales Pop Widget is designed to display conversions from one or more sources. All you have to do is connect it to a data source and activate the widget.
Part 1: Connect a Data Source
Social Proofy uses live data from your website to display recent purchases.
Step 1 – Go to your Social Proofy Dashboard and select the Integrations option from the left menu bar.

Step 2 – Once in Integrations, select the platform you wish to integrate with and click on Connect. Follow the specific steps to integrate with the selected app.

If you can’t find your app there, don’t worry we have a Webhook Trigger URL so that you can set it up with any platform that uses Webhoooks. You’ll find that in the steps below.
You can also send us an email with the integration request and we’ll set it up.
Part 2: Setup Widget
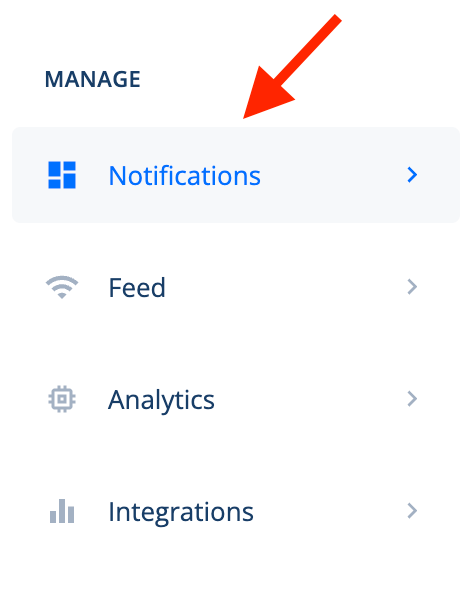
Step 1 – After integrating with your desired app, go to the Notifications tab in the left menu bar.

Step 2 – Once in the Notifications tab, click on New Notification.
![]()
Step 3 – Select the Recent Sales Pop Widget, and go to the Notification Data tab.
![]()
Step 4 – Check your imported conversions fields and use those as your dynamic variables (Ex: {city}, {name})
![]()
Step 5 – Go to your Design tab and fill the
- Conversion Title
- Conversion Description
- Image URL
- Notification URL
boxes with the Dynamic Variables you imported.

Webhook Trigger Integration
Step 1 – Once in your Recent Sales Pop Widget settings, go to the Webhook & Auto Capture tab.
Copy the Webhook Trigger URL and paste it in the Webhook Area for the plaftform/app you wish to connect with.

Step 2 – If you used the Webhook Trigger, then make sure you toggle the Webhook and Upload button under Select Widget Version.

If you are using the Social Proofy WordPress Plugin for WooCommerce and WordPress then toggle the Plugins button under Select Widget Version.

How To Manually Import Data ?
You can also import data manually with the Multi Import option. This is how you do it:
Step 1 – Go to the Notification Data tab, select Import Data and then Multi Import.

Step 2 – Download the latest_import.xlsx file.

Step 3 – Fill the Excel file with as many conversions you have.
NOTE: Make sure to follow the guidelines for how to handle the file. View them in the previous step image.

Step 4 – Upload the Excel File and click on Import Data.

You will see something like this:

How to customize the Recent Sales Pop?
Follow this video tutorial to explore all the features of the Recent Sales Pop Widget.
