Let’s install Social Proofy on your Teachable site.
Part 1 – Add your site on Social Proofy
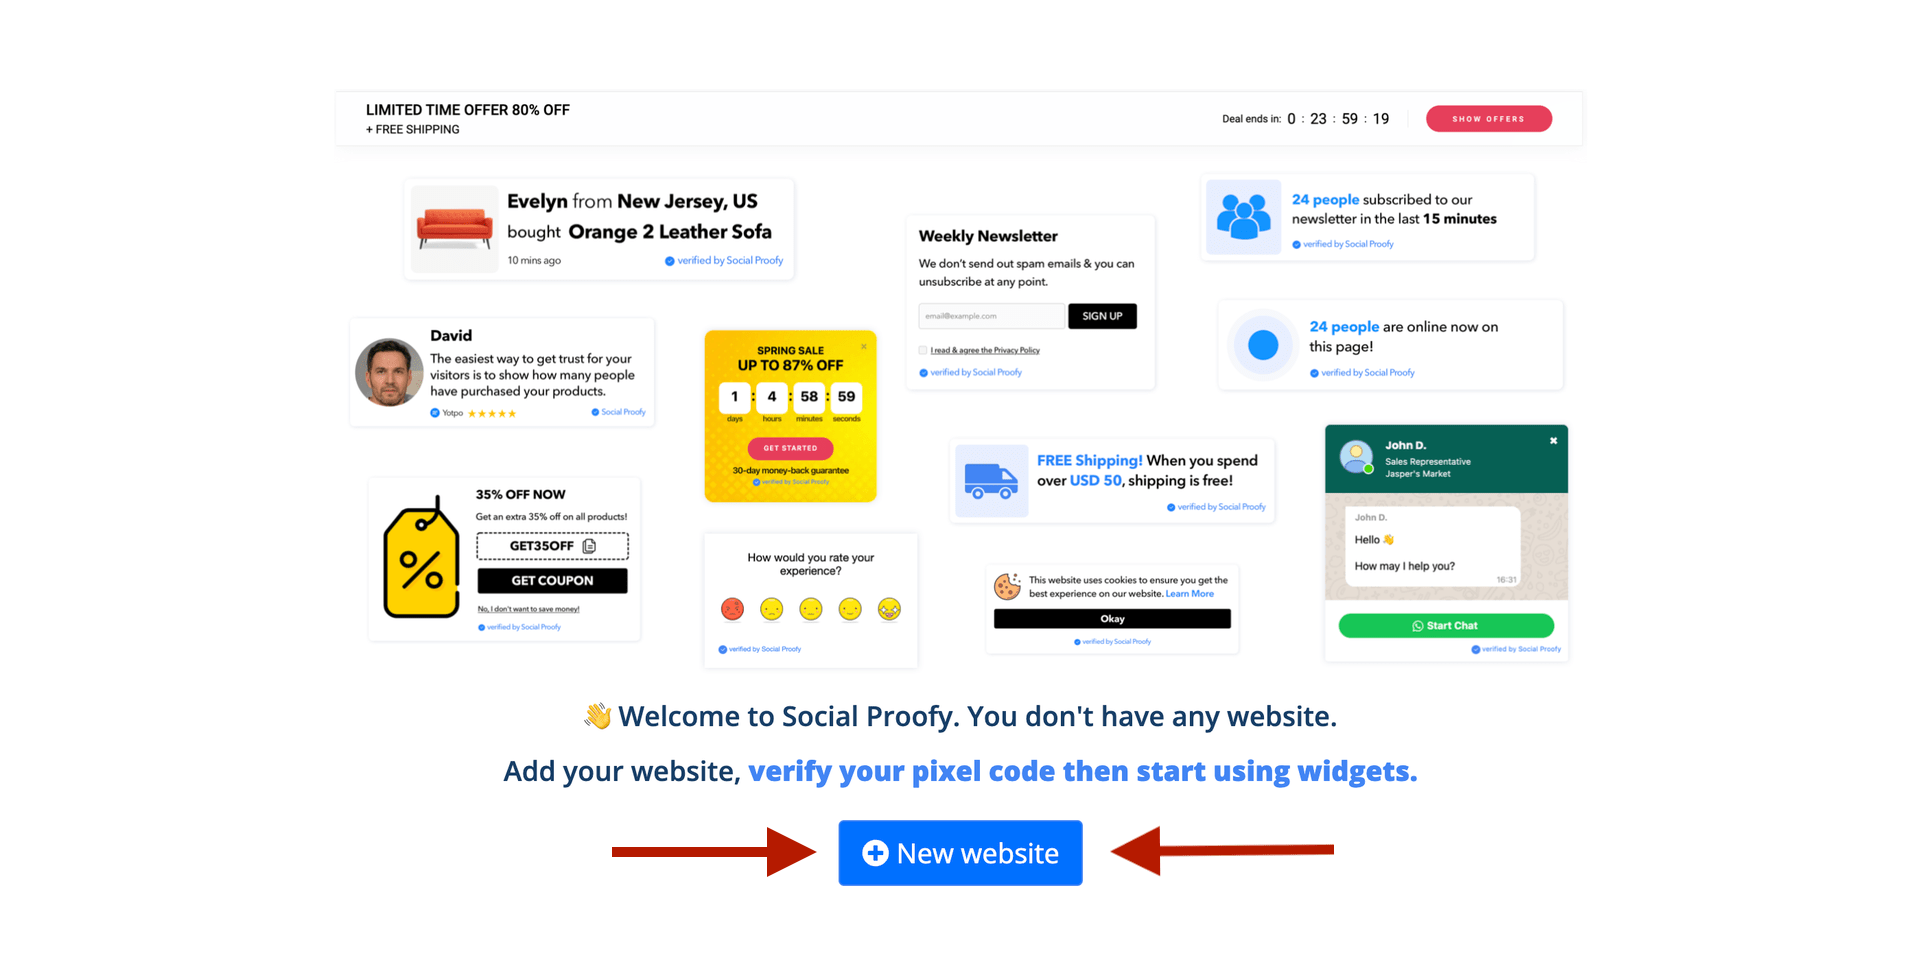
Step 1- Log in to your Social Proofy account, click on the button that says New Website and register your site.
Step 2 – After adding your site, go to the top left corner of your Dashboard and click on the Red Dot next to “Pixel not active”.
![]()
Step 3 – Select the “Add to your HTML” option.
![]()
Step 4 – Copy the code snippet. You’ll need this later.
![]()
Part 2 – Add HTML code to Teachable
Step 1 – Log in to your Teachable account.
Step 2 – Select Site.

Step 3 – Click Code Snippets.

Step 4 – Once in Code Snippets, select Head Code Snippets.

Step 5 – Paste the HTML code you got from Part 1 Step 4 inside the box and hit Save.

Step 6 – Go back to your Social Proofy Dashboard and click on the Red Dot next to “Pixel not active”, once again.
![]()
Step 7 – Once there, click on the Verify Pixel button.
![]()
If it shows Green, you’re all set. You have successfully installed the Social Proofy Pixel on your site.
![]()
The code will be added to all pages on your site and Social Proofy will start working.
If it does not show green? Click the chat bubble in the app so we can assist you 1-on-1 setting up your Pixel.
Part 3 – Teachable Webhook Setup
Step 1 – Create a Recent Sales Pop Widget.
Step 2 – After creating the notification, go to the Webhook & Auto Capture tab and copy the Webhook URL.

Step 3 – Log in to your Teachable account.
Step 4 – Select Settings from the admin sidebar.

Step 5 – Click Webhooks.

Step 6 – Select Add Webhook.

Step 7 – Enter your Social Proofy Webhook URL and select an Event Type: “New Sales” or “New Enrollment”
Step 8 – Click the orange Create Webhook button at the bottom.
Step 9 – Your webhook is now set up! When the event type you chose occurs, it will fire off a webhook event and the status of your webhook will change from “pending” to “verified”.
Sometimes, Teachable’s webhooks fail (we’re not sure why and trying to get their support’s help on this) and they disable the Webhook permanently.
We highly suggest going into your Teachable’s webhooks section every 2-3 days and re-enable the webhook if it’s disabled.
