Congrats for taking the first step to enhance conversions on your site!
Let’s install Social Proofy on your SendOwl site.
Part 1 – Add your site on Social Proofy
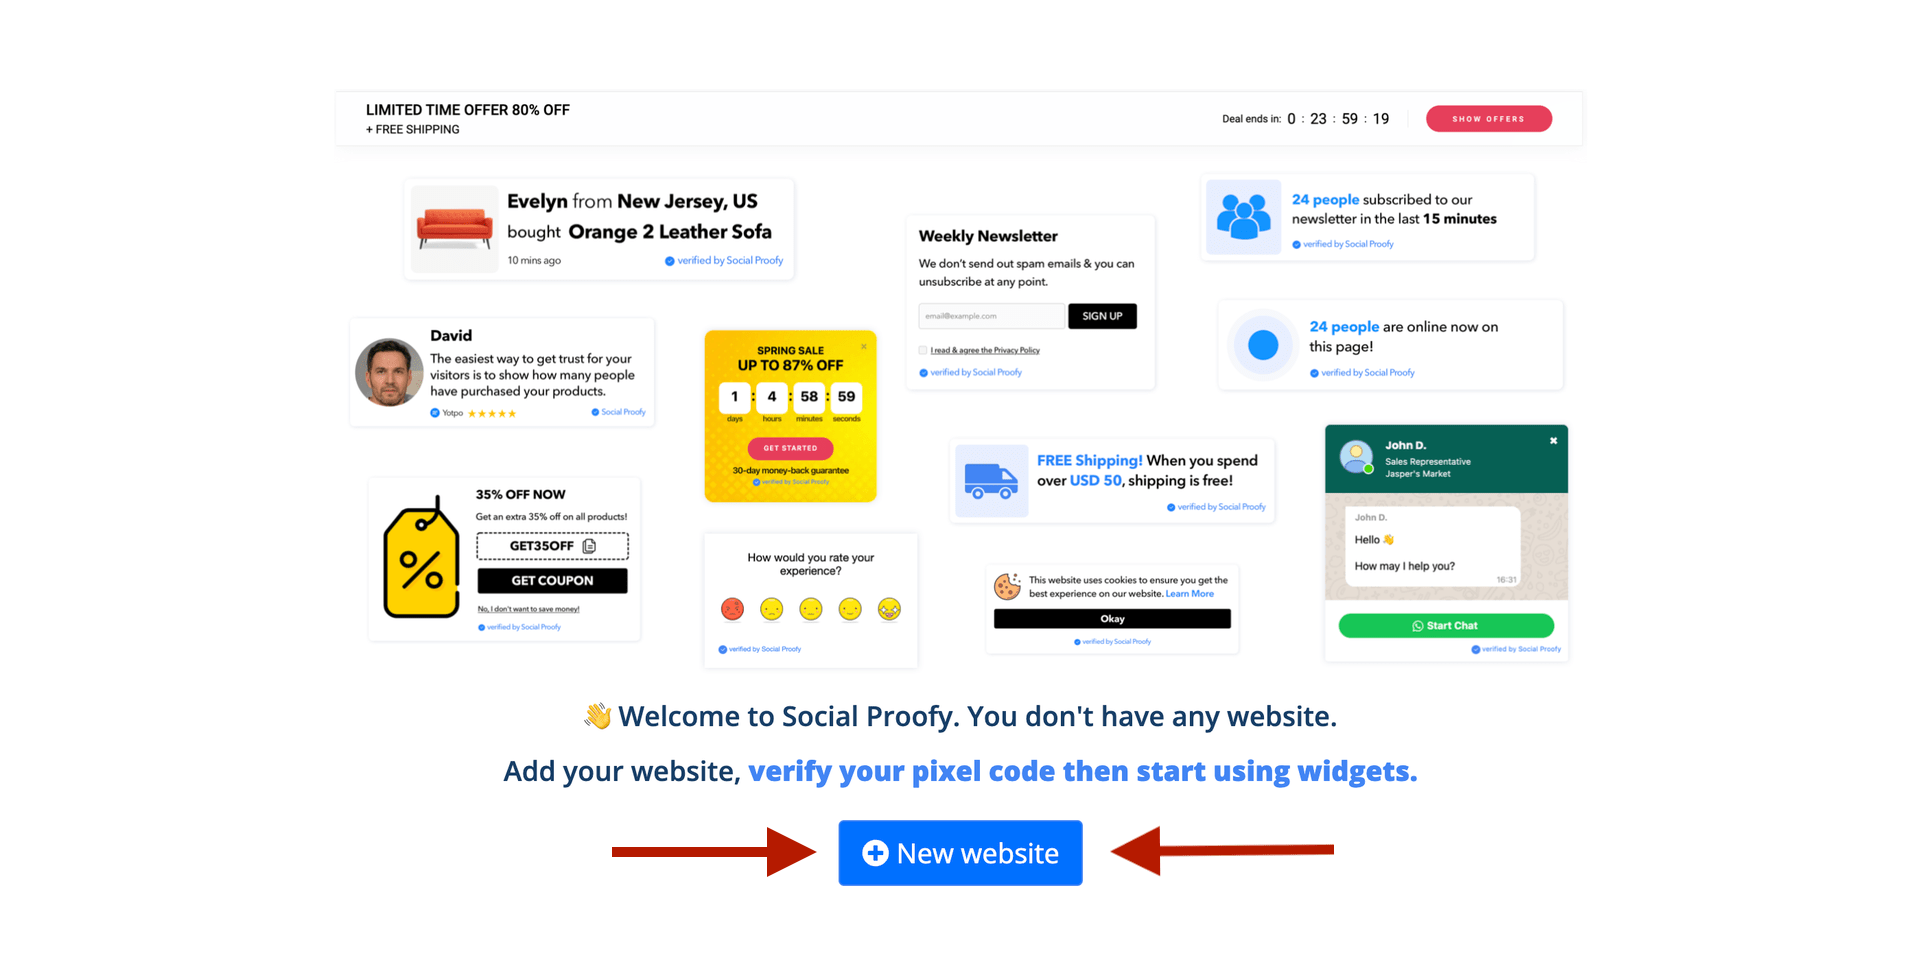
Step 1- Log in to your Social Proofy account, click on the button that says New Website and register your site.

Step 2 – After adding your site, go to the top left corner of your Dashboard and click on the Red Dot next to “Pixel not active”.
![]()
Step 3 – Select the “Add to your HTML” option.
![]()
Step 4 – Copy the code snippet. You’ll need this later.
![]()
Part 2 – Add HTML Snippet to SendOwl
Step 1 – Log in to your SendOwl account.
Step 2 – Go to the left menu bar and click on Settings.

Step 3 – Scroll down until you reach SendOwl checkout and select Custom CSS & scripts.

Step 4 – Paste the HTML code from Step 4 Part 1 inside both boxes.

Step 5 – Go back to your Social Proofy Dashboard and click on the Red Dot next to “Pixel not active”, once again.
![]()
Step 6 – Once there, click on the Verify Pixel button.
![]()
If it shows Green, you’re all set. You have successfully installed the Social Proofy Pixel on your site.
![]()
The code will be added to all pages on your site and Social Proofy will start working.
If it does not show green? Click the chat bubble in the app so we can assist you 1-on-1 setting up your Pixel.
Now that you’ve added Social Proofy to your site, the fun part starts!
Part 3 – SendOwl Webhook Setup
In Social Proofy, edit/create a notification that tracks “webhooks” and copy the Webhook URL (read more about it here)
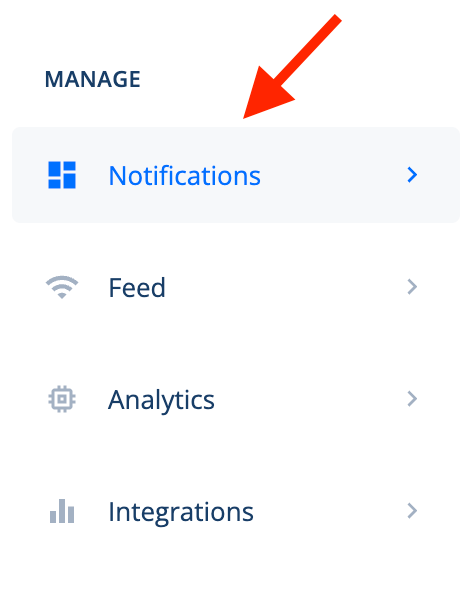
Step 1 – To do this go into your Social Proofy Dashboard and click Notifications.

Step 2 – Create a Notification (in this case we are using the Recent Sales Pop notification).
![]()
Step 3 – Select the Webhook & Auto Capture tab option (more info here).

Step 4 – Copy the URL for the Webhook Trigger.

Step 5 – Complete the Notification Setup and hit Save.
Step 6 – Go to your SendOwl dashboard and select Settings.

Step 7- Scroll down until you reach Advanced settings and click on Webhooks.

Step 8 – Click Add a webhook and fill the details.

Step 9 – Add the following information:
- URL: Paste the Webhook URL you got from Step 4 inside the box.
- Event: Order Completed
After adding those details click Create.

You will now start receiving order information for each new order created.
Let’s improve your conversions by showing Social Proof and building credibility!
You can also find more detailed information about here: SendOwl webhooks.
