Congrats for taking the first step to enhance conversions on your site!
Let’s install Social Proofy on your Tilda site.
Part 1 – Add your site on Social Proofy
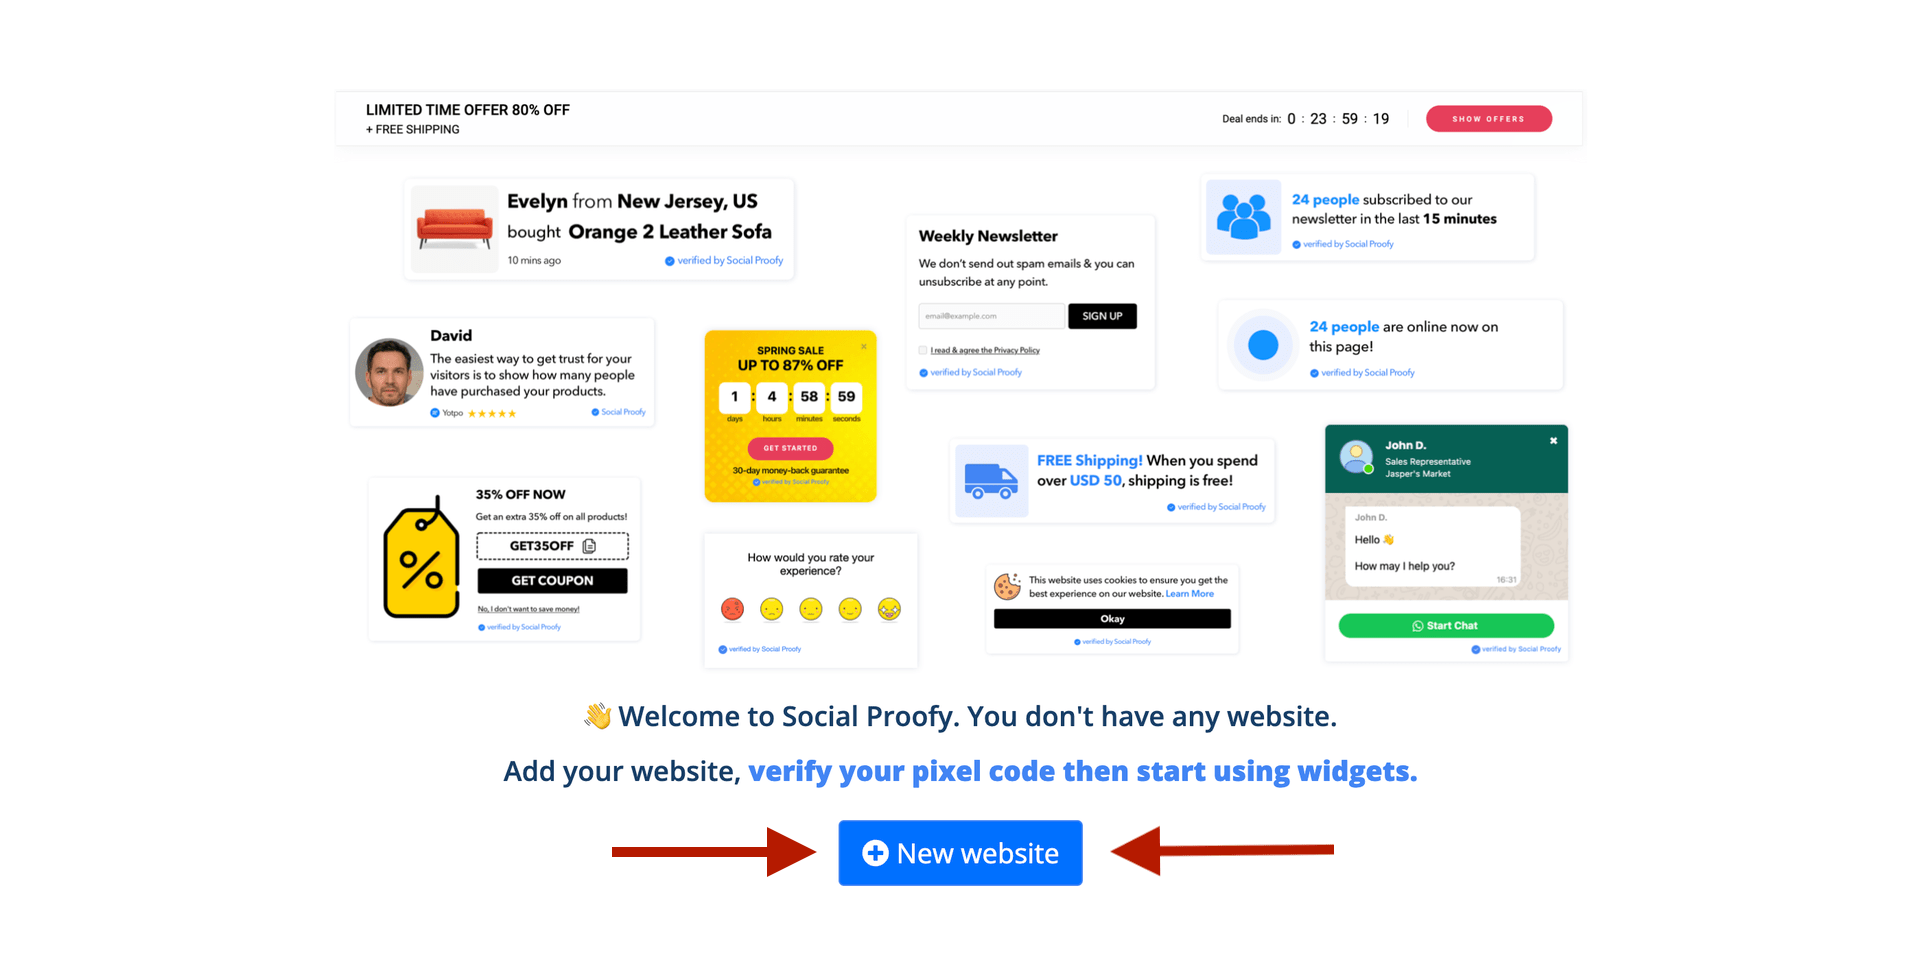
Step 1- Log in to your Social Proofy account, click on the button that says New Website and register your site.
Step 2 – After adding your site, go to the top left corner of your Dashboard and click on the Red Dot next to “Pixel not active”.
![]()
Step 3 – Select the “Add to your HTML” option.
![]()
Step 4 – Copy the code snippet. You’ll need this later.
![]()
Part 2 – Activate your Pixel
Step 1 – Log in to your Tilda account.
Step 2 – From your dashboard, click on the Three dots (…) on your site and select More.

Step 3 – Scroll down to HTML Code For The Head Section, then select Edit code and paste the code you copied in Part 1 Step 4 there. After that Save.

Step 4 – Go back to your Social Proofy Dashboard and click on the Red Dot next to “Pixel not active”, once again.
![]()
Step 5 – Once there, click on the Verify Pixel button.
![]()
If it shows Green, you’re all set. You have successfully installed the Social Proofy Pixel on your site.
![]()
The code will be added to all pages on your site and Social Proofy will start working.
If it does not show green? Click the chat bubble in the app so we can assist you 1-on-1 setting up your Pixel.
Now that you’ve added Social Proofy to your site, the fun part starts!
Part 3 – Tilda Webhook Integration
1. To activate Webhooks, go to the Site Settings → Forms → Webhook.

2. Copy your Social Proofy widget Webhook URL. You can find that in the Webhook & Auto Capture tab for the widget you wish to connect.

3. Paste the Webhook Trigger inside the Webhook URL box.

4. Go to the page and select the “WEBHOOK” checkbox in the Content panel of the form block.
Click “Save and close“, then Publish. When someone fills out the form, the data will be sent via a POST request to the address of the script you specified in the Site Settings.

Extra: Part 4 – Let’s add your first widget!