
Congrats for taking the first step to enhance conversions on your site!
Let’s install Social Proofy on your Teachery site.
Part 1 – Add your site on Social Proofy
Step 1- Log in to your Social Proofy account, click on the button that says New Website and register your site.
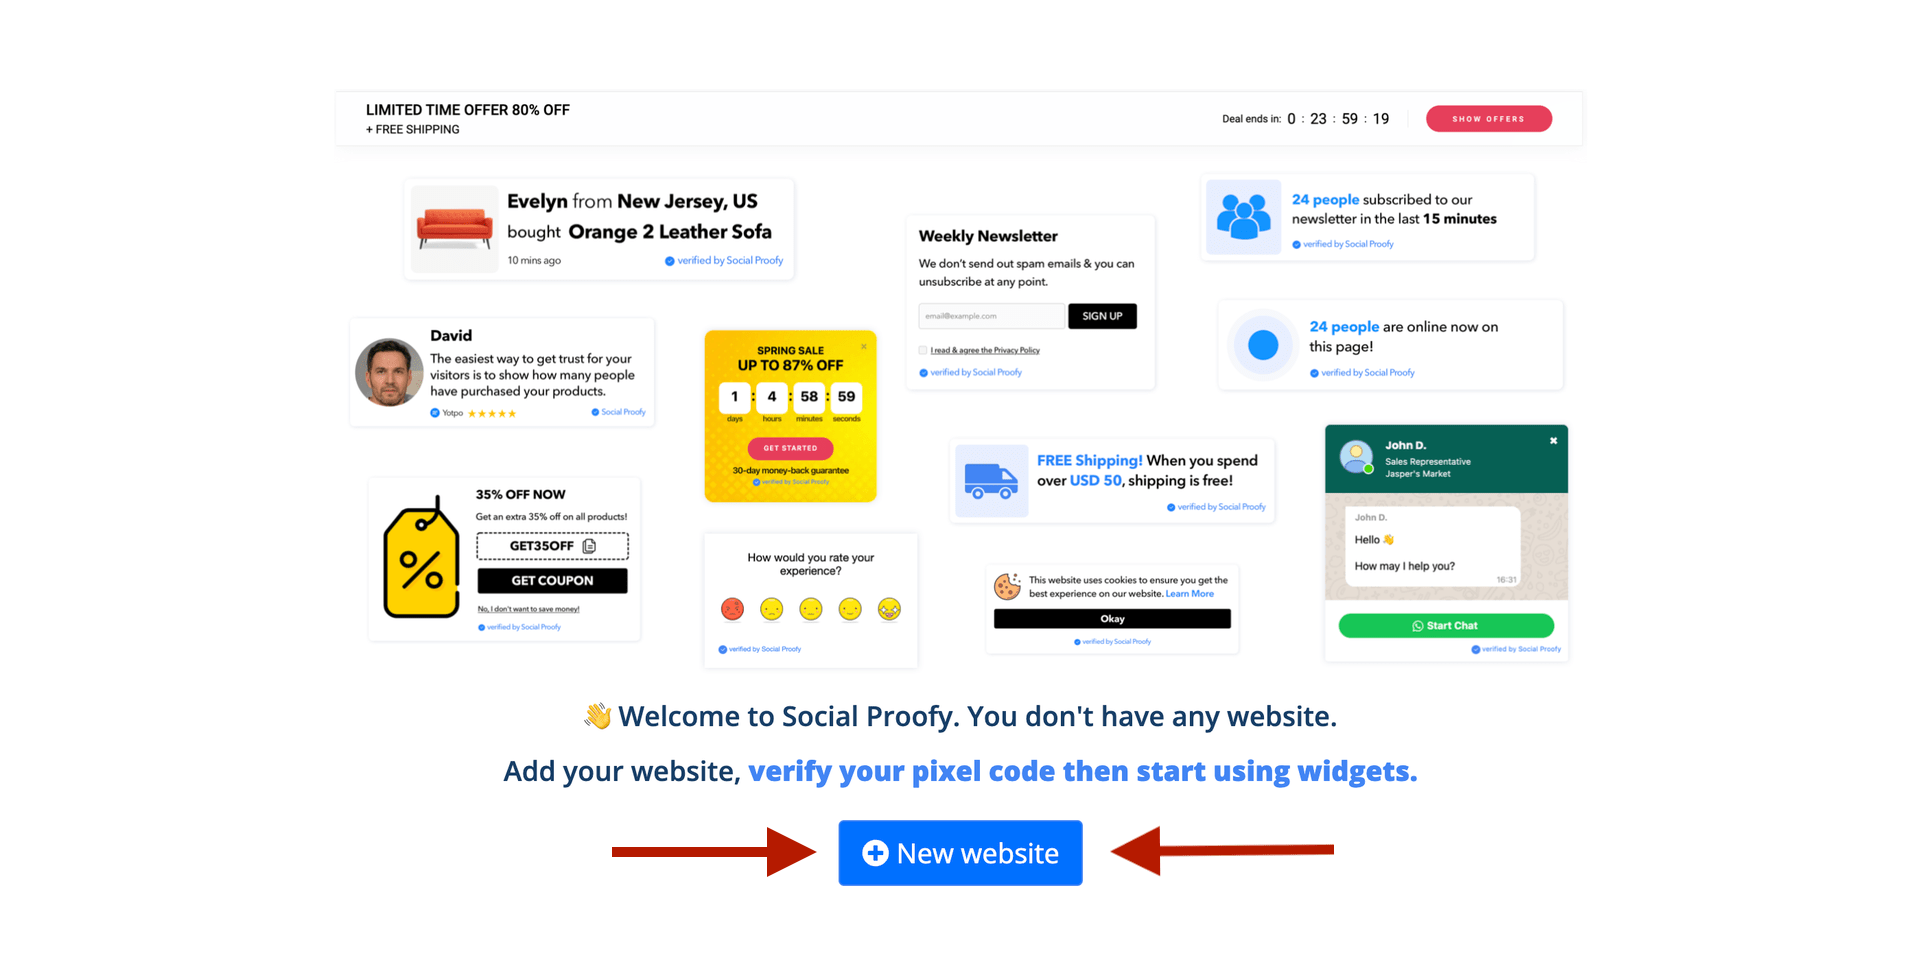
Step 2 – After adding your site, go to the top left corner of your Dashboard and click on the Red Dot next to “Pixel not active”.

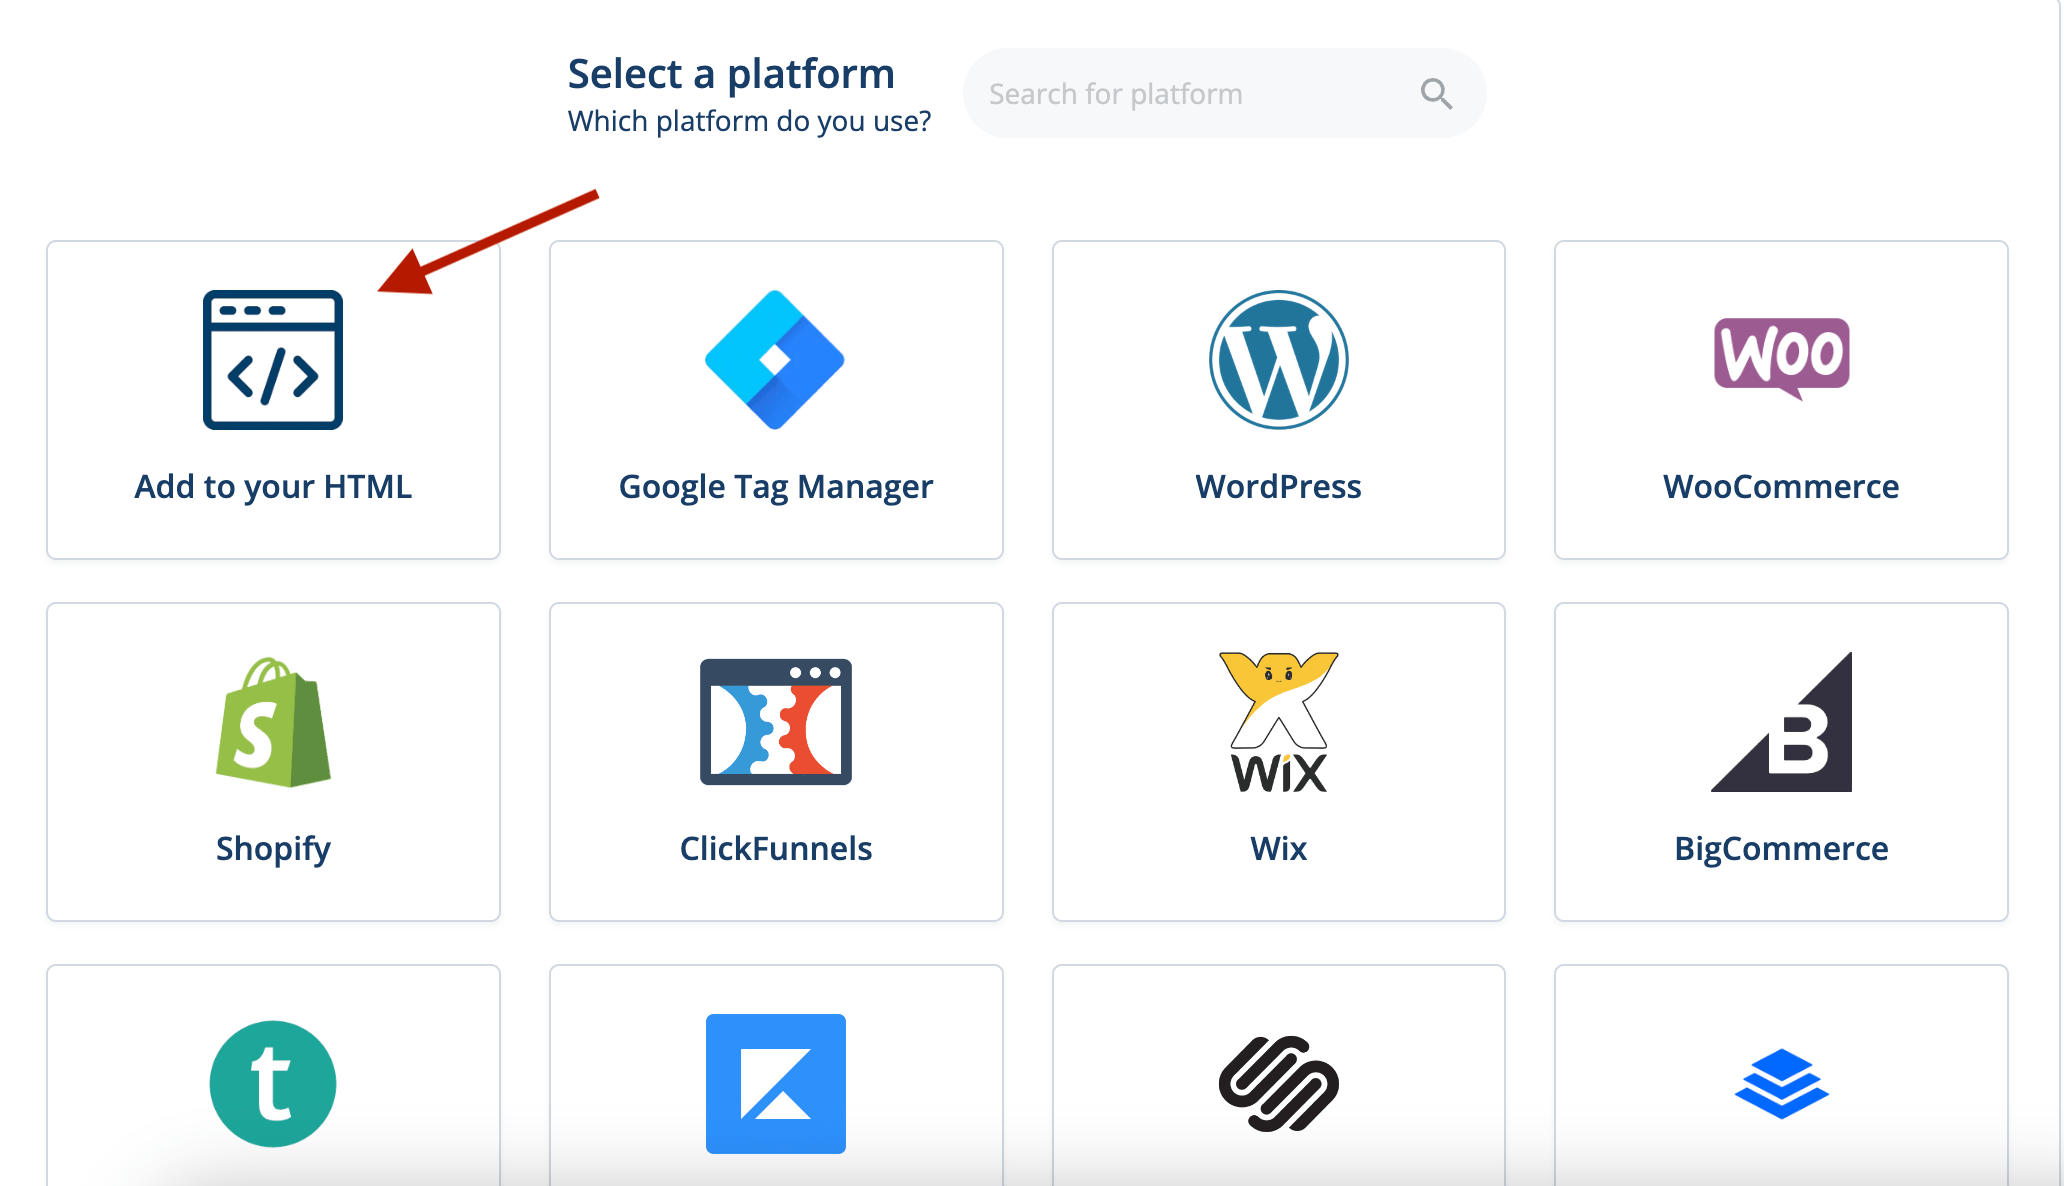
Step 3 – Select the “Add to your HTML” option.
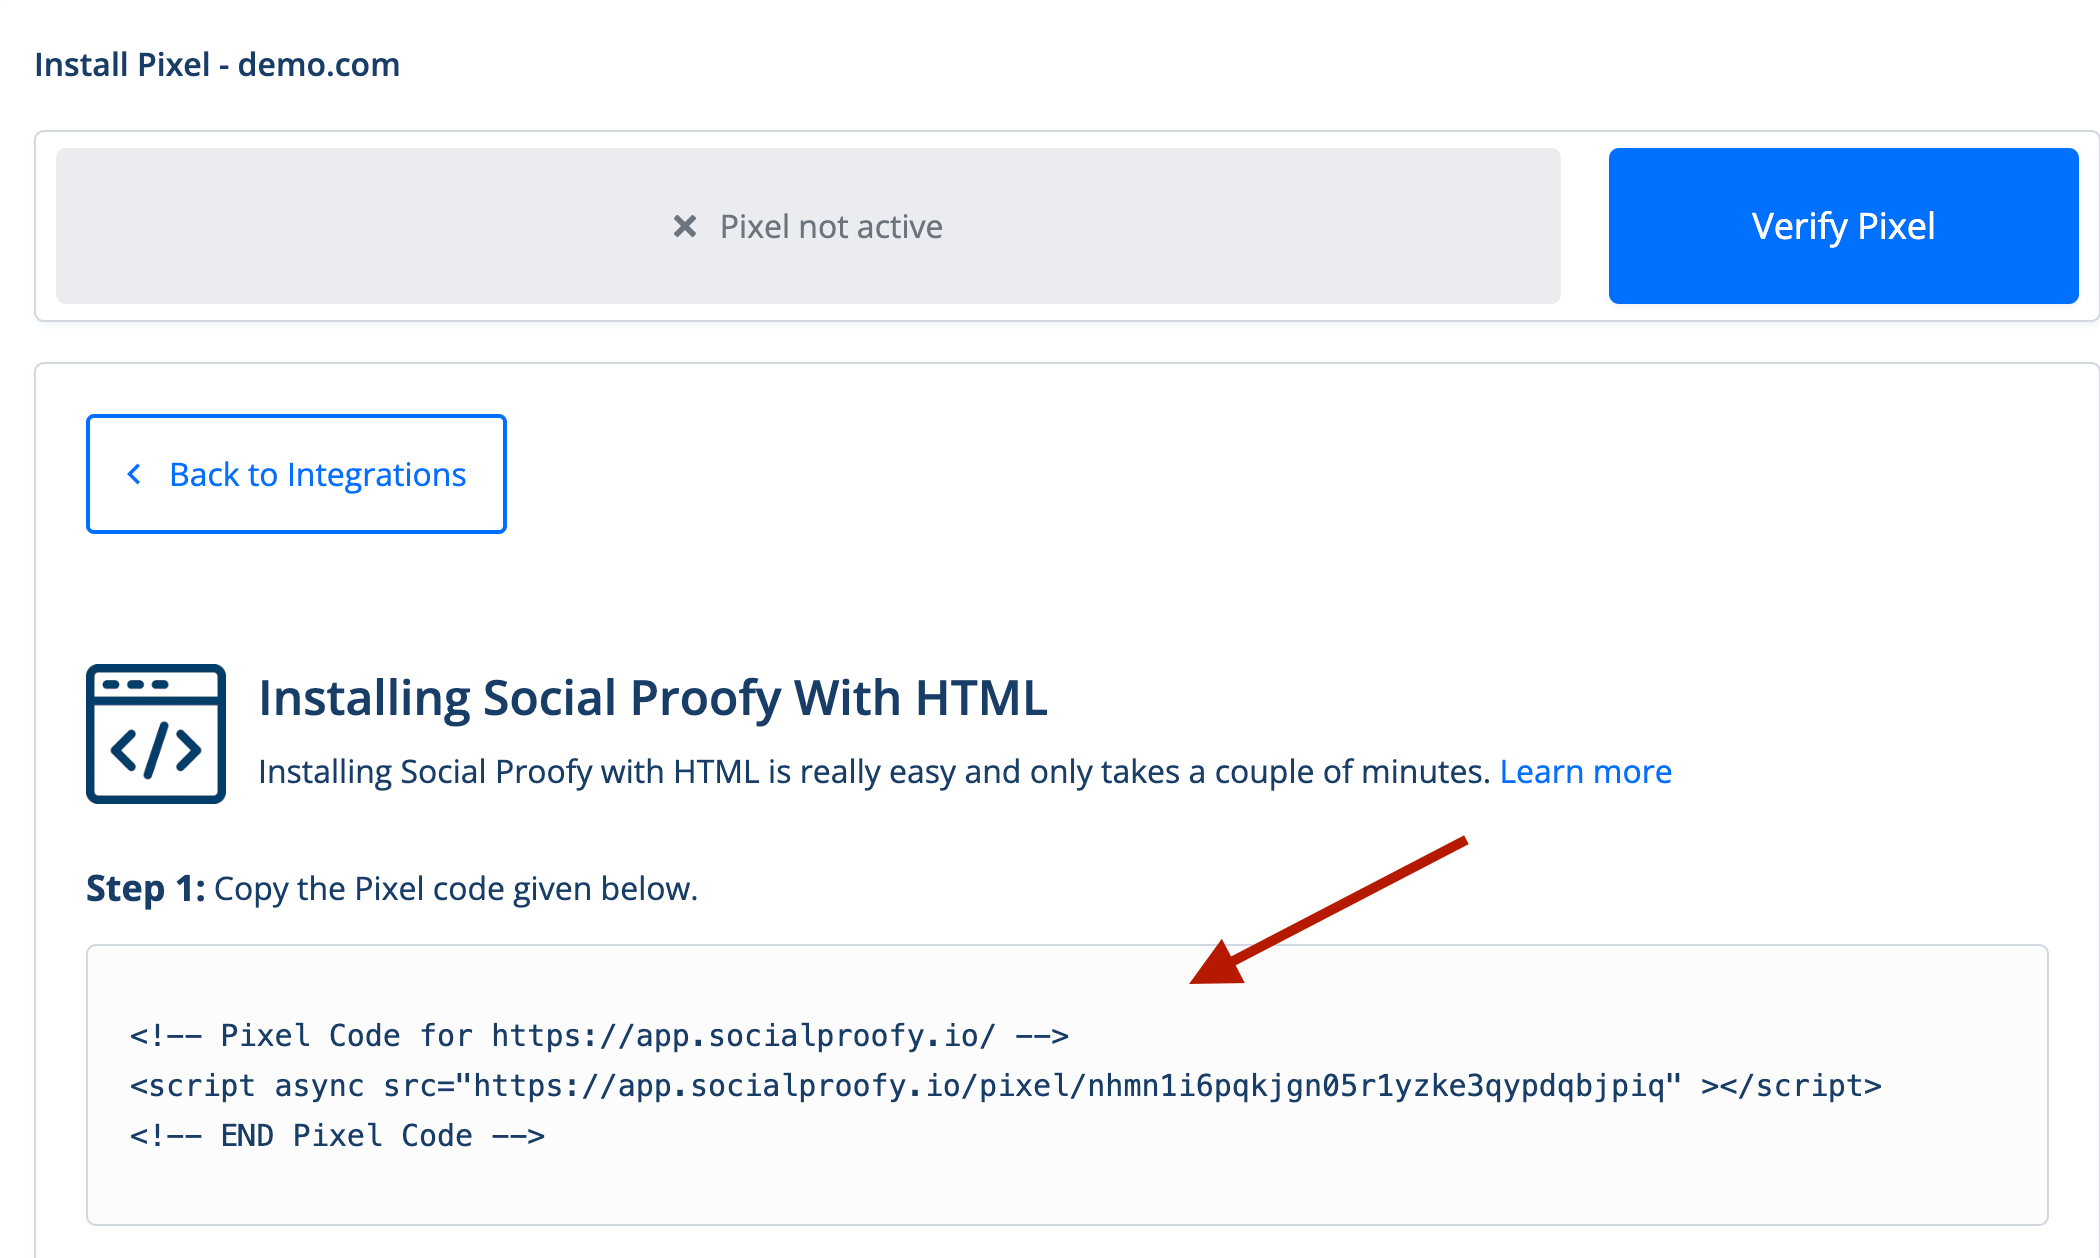
Step 4 – Copy the code snippet. You’ll need this later.
Part 2 – Activate Pixel
Step 1 – Log into your Teachery account.
Step 2 – On your course, select Edit course.

Step 3 – Scroll down through the sidebar until you reach Course settings, click on it and then choose Manage options.

Step 4 – Scroll down until you see Head Tag Code Injection and paste the code you copied on Part 1 Step 4 there. Once done, scroll down again to the bottom and select Save Options.


Step 5 – Go back to your Social Proofy Dashboard and click on the Red Dot next to “Pixel not active”, once again.
Step 6 – Once there, click on the Verify Pixel button.

If it shows Green, you’re all set. You have successfully installed the Social Proofy Pixel on your site.

The code will be added to all pages on your site and Social Proofy will start working.
If it does not show green? Click the chat bubble in the app so we can assist you 1-on-1 setting up your Pixel.
Now that you’ve added Social Proofy to your site, the fun part starts!

